(This post originally appeared on my other blog, WitchCrafty.biz!)
We’re several days into Aquarius already but none-the-less, here’s part 2 of the Capricorn Color-Along!
And if you haven’t seen Part 1, check it out here.
These are the supplies I used, but of course, use any pencils you like… and try applying these shading techniques to other coloring books and drawings, too.
From: Coloring Book of Shadows
By: Me! Amy Cesari.
Pencils Used: Prismacolor Premier 72 Pc. Set
Colored Pencils Used For Saturn:
Putty Beige
50% French Grey
70% French Grey
Ginger Root
Sand
Golden Ochre
Colored Pencils Used For Garnet:
Carmine Red
Crimson Red
Crimson Lake
Tuscan Red
Dark Brown
Step 1: Saturn!

First, lightly get your basic stripes going.
- If you look at a picture of Saturn, you’ll see that it’s got some distinct stripes going on. Get those in first, lightly, so you can kind of see it take shape.
- I used the darker French Greys for the dark stripes, and Ginger Root and Putty Beige for the lightest spots.
- I filled in with the Golden Ochre and Sand for the more yellow parts.
- A good tip is to keep your pencil strokes going along with the rings as much as possible, since that’s how Saturn flows.

Then, darken up the shading on the bottom-left sides of Saturn.
- Recall from Part 1 of this Color-Along, we did the darker shadows on the bottom-left sides, since the light-source was the opposite, the upper-right.
- Using 50% French Grey and 70% French Grey pencils or something similar, darken up the bottom-left sides of Saturn, shading it out and along the same direction as the stripes.
- Darken the rest of your stripes till you get a depth of color that looks good to you.
- Remember to keep your strokes going along with the rings to get the most realistic look!

Then, use the blender pencil
- Using the blender pencil is optional, you can still shade without them. However I love ‘em and I think it’s a great “trick” when working with colored pencils.
- Blend the stripes of Saturn just a bit, going in the direction of the rings.
- Also color the rings of Saturn, as well as the bits between the rings in red or background color, which I’d forgotten to do up till this point. Oops!
Step 2: Garnet

Dark shadows first!
- I wanted to make sure there was enough contrast in the garnets, so I started with the darkest pencil, Dark Brown, as you see above.
- Again, I put the dark shadows on the bottom-left of the objects.
- Also see how that’s just 1 pencil used above, but some of the spots are colored super-dark and some are a little lighter — with the same Dark Brown pencil.
Continue the Shadows

- Next I used Tuscan Red, the second-darkest color in the garnet.
- I’m moving more towards the center with this color but it’s still heavier on the bottom-left.
- Note how it overlaps a bit with the brown I did before on some parts, and not in others, so you get a nice range of reddish-browns.
Add the brightest Reds

- Using Crimson Lake as the main color here (giving it definition from the glow) color most of the remaining spots in red, leaving a bit of super-light white/pink highlight on some of the front-left spots on the garnets.
- You can also brighten the top-left side of the garnets with a little Crimson Red and Carmine Red.
- Then use your colorless blender pencil (optional!) to blend it all together and smooth it out.
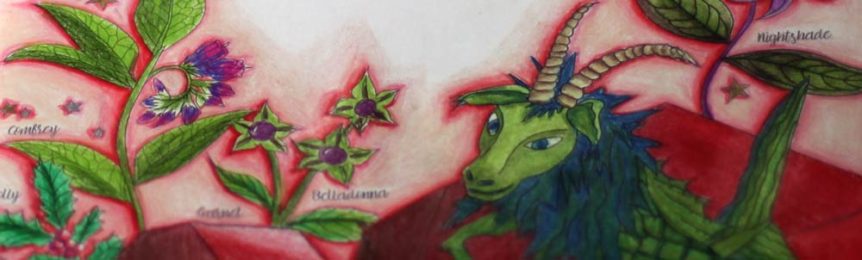
Step 3: Sea-Goat, Herbs, and Space

- I’m going to let you loose on your own for the finer details — the plants, little spacey items, and most of the Sea-Goat.
- For the Sea-Goat, I’ll start you off with some hints in the above pic!
- I used two colors of green, Apple Green (light) and Dark Green.
- Try to keep the darker shadows on the bottom-right, and the lighter color on the top-left as we’ve been doing. I thought that his head and hair would be creating a shadow on the top of his legs, so I added the darker color there, too.
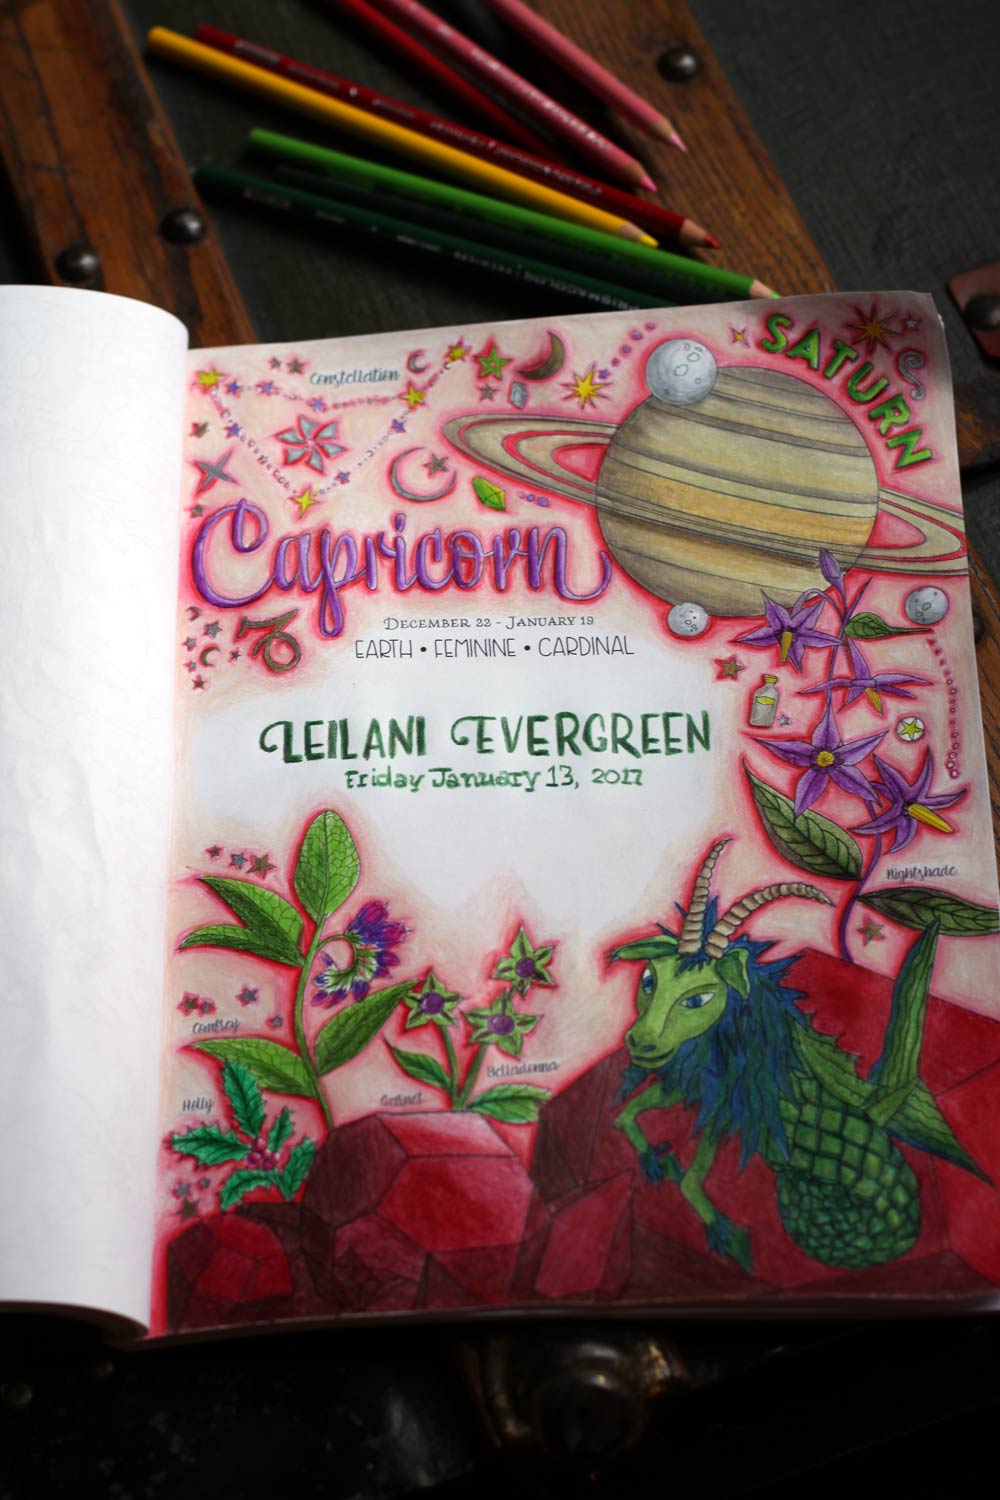
Finish Up

- Use the blank space to write things, or leave it empty.
- I wrote the name and birthday of a new baby (see last pic below!) but you can use it for notes, correspondences, spells, findings, or whatever

Hope you had fun and enjoyed this page! And please share your coloring if you’d like, I’d love to see it!
Sign up for new book announcements and free printable pages!

Get this Moon Magic set now!
... + more magical freebies & infrequent newsletters